

This guide will take you through the process of adding new exhibiting companies in to LiveControl.
Creating a new Exhibitor
First, access the Exhibitor List.
From the main dashboard, click 'registrations' and then 'Exhibitor'
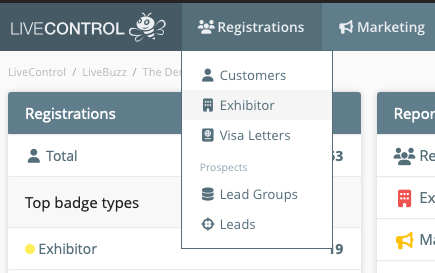
This list will display all the Exhibiting Companies that currenty exist in your campaign. You can use the keyword search to make sure the one you are adding doesn't already exist.
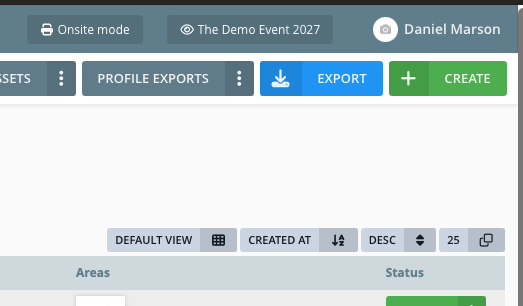
Click 'Create' in the top right corner:
The minimum required fields on this form is just the Name of the exhibitor. However, we recommend adding the following:
Name - The name of the exhibitor as you want it referred in to LiveControl
Exhibiting Name - Used to override the Name if the company is exhibiting under a different name, and wants it different in their Exhibitor Hub.
Name = LiveBuzz Ltd
Exhibiting Name = LiveBuzz
Stand / Booth Number
Main Contact First Name & Last Name
Main Contact Email address
Once all this information is added. Click on Save Exhibitor in the top right corner:
You may now wish to send the Exhibitor Welcome Email or access the Exhibitor Signd URL Login Link.
Advanced settings
Whilst creating new exhibitors you may spot a number of additional fields, these vary in use and won't all be needed in many scenarios.
Some useful advanced features and their use are below.
Publish Preferences
Biography - This is used within LiveBuzz Web Modules and is the company description field. This is often entered by the exhibitor themselves in their Exhibitor Hub when filling out their profile.
Website and Contact Email - Also used as part of their website profile
Publish on Website - A simple toggle to hide/show an exhibitor within the Web Modules.
Featured - Whether or not an exhibitor is featured on the web modules. Exhibitors can be featured at a basic level or featured can contrain custom types and hierarchy.
Display toggles (Show Email, Show Addresses, Show Phones) - Also for the Web Modules, decide whether or not to show this information on the exhibitors profile.