

Make Edits in the Text Editor
 The editor toolbar appears on all articles and modules
Once the article editor is open, you can:
Format content: Use the dropdown to add paragraphs, create headings, and more.
Style content: The Styles dropdown allows you to add template styles to your content.

Add columns: Separate your content into mobile-friendly columns.

Add links: Select text and click the link icon to insert a hyperlink.

Insert images: Click the Insert Image button to upload and add images. You can also add folders and organise media from this window.

Add tables: Add a ready-made table that will take the styling from your template.
- You can switch between 'Editor' and 'Code' tabs to move between visual editor and raw HTML mode if needed.
- To add a new line outside your columns, press ALT + Enter for Windows or OPTION + Enter for Mac
- Quick find and replace text, press Ctrl + F for Window or Command + F for Mac
Copying & Pasting Content
When copying and pasting content from an external source, hidden styling can also be copied that could break visual aspects of your site. You may notice text looks misaligned, has strange spacing, colours, or fonts.
To avoid this from happening:
- Click the 'Paste as Plain Text' button. This will open a text window.
- Paste in the window the text you want to insert.
- The pasted text will now have any extra styles removed and is ready to be styled as needed.
- Paste as Plain Text, press Ctrl + Shift + V for Window or Cmd + Shift + V for Mac
Adding Custom Styling Classes
-
In the editor, scroll to the bottom of the screen to view the element hierarchy.
-
Click on the element to expand it.
-
From within the section, click on the specific element you want to edit, e.g. Column.
This will select the column directly in the editor.
-
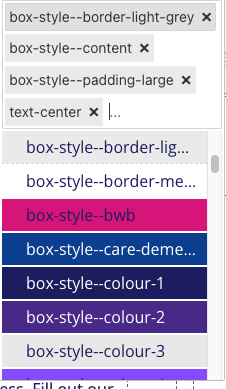
With the element selected, open the Styles dropdown panel.
-
Choose the required style from the list — for example, box-style--colour-2.
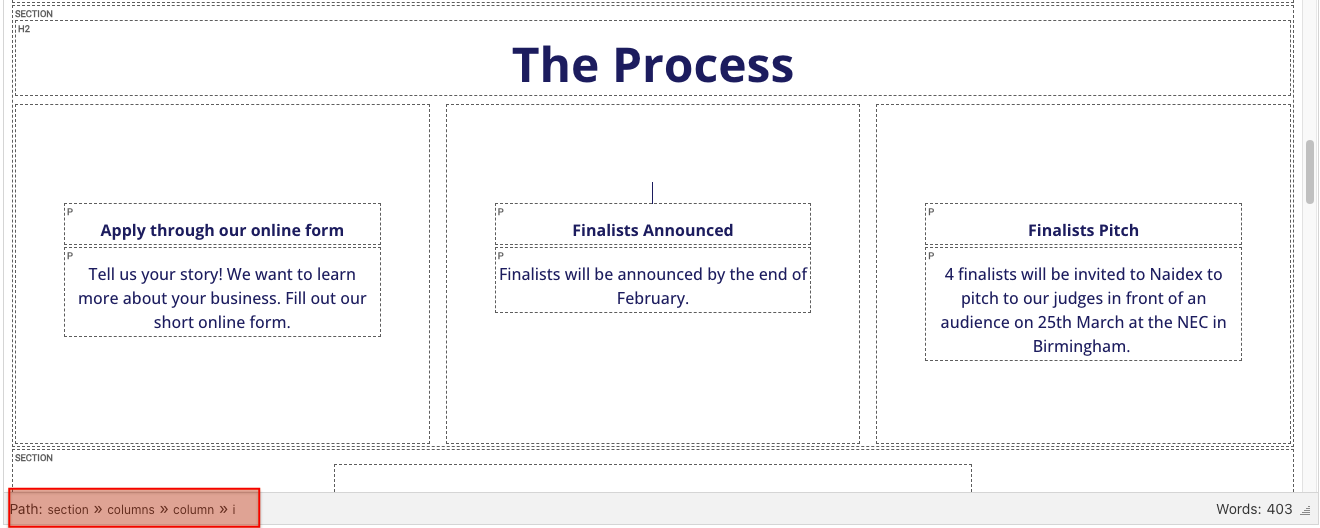 The element hierachy can be found at the bottom of the article editor window
 The styles panel is located at the top of the editor toolbox
Once selected, the style will be applied immediately, changing the column’s colour (e.g. applying the purple background).
Adding a Background Image to a Column
- In the editor, scroll to the bottom of the screen to view the element hierarchy.
- Click on the element to expand it.
- From within the section, select the specific Column you want to edit.
- With the column selected, click the “AA” (Styles) button in the toolbar.

- Switch to the Background tab.
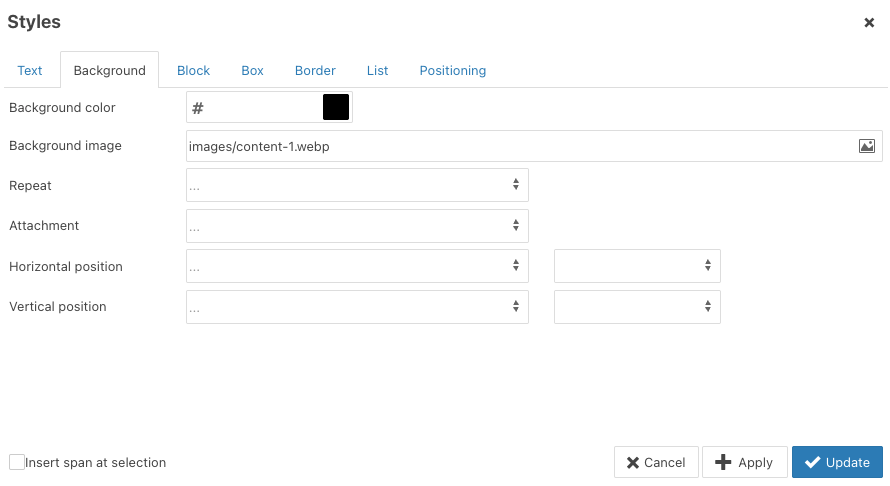
- Upload or select your image.
- Click Apply, then Update to save changes.
Editor View vs Live Website
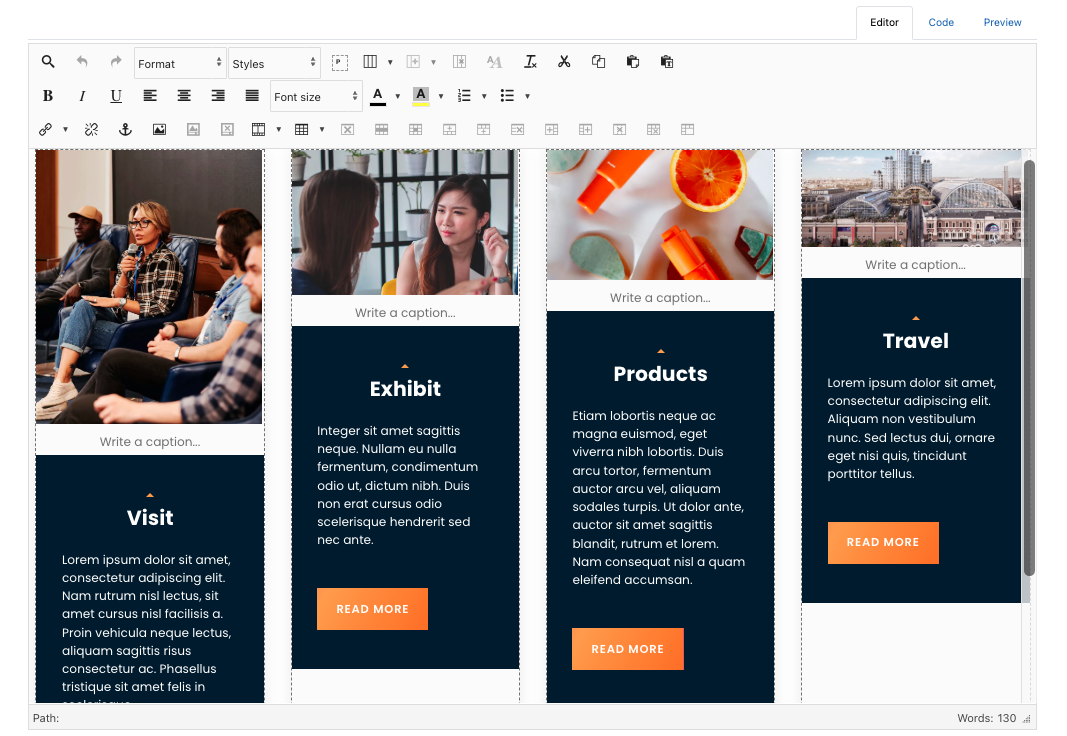 Editor view
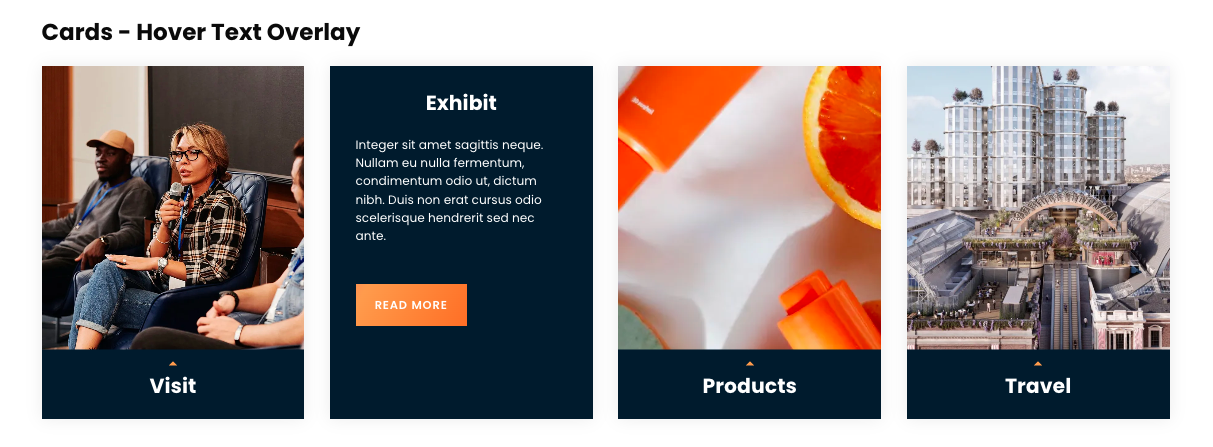 Live view
Content may look slightly different in the editor compared to the live website.
This is normal, as the editor uses simplified styling while the live site applies full design styles.
Always preview the page on the website after saving to check the final result.