

In LiveControl you can create custom views / layouts for various reasons, the idea is that you can display different bits of customer data for different reasons like Vetting for example. These views can also be filtered to only show certain records as well, such as pending records.
Custom Views are then available from the campaign dashboard in LiveControl, as well as being 'sticky' to your account, meaning the next time you go to the Customer List for example, the view will automatically apply until you change it back.
Create a new Custom View
In this guide, the examples will focus around the Customer List. It is technically posible to create Custom Views on other lists in LiveControl, but 99% of use cases are for the Customer List.
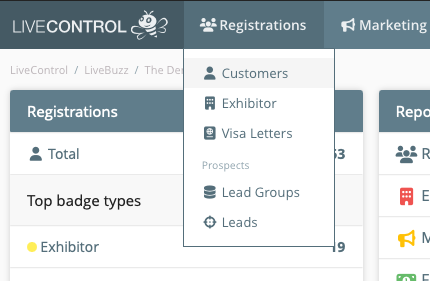
First, access the customer list from the top menu: Registrations -> Customers
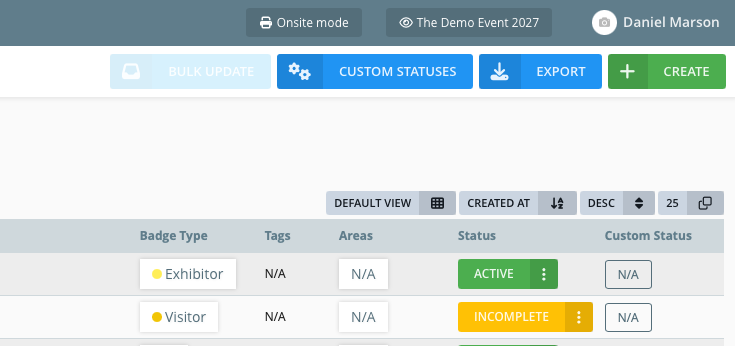
From the Customer List, look to the top right corner for and click on Default View next to the ordering and record count options:
Note: If you already have a custom view applied, Default View will display the name of the view you currently have applied.
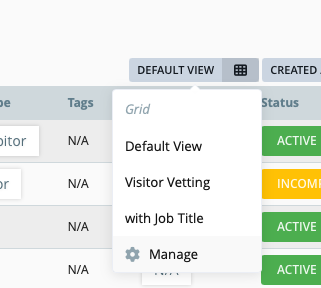
You will see the menu of existing views as well as Manage
Click on an existing view to apply it, or click on Manage to edit any of them as well as create new views.
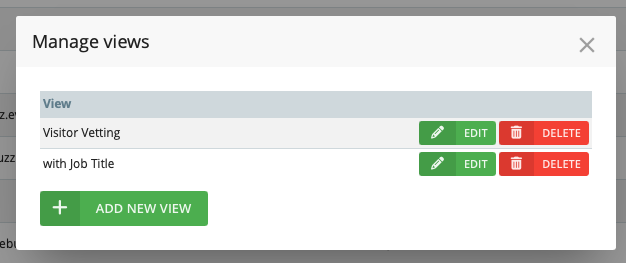
You will see the pop-up / modal detailing any existing views, to edit any of these, click on Edit
To create a new view, click Add New View
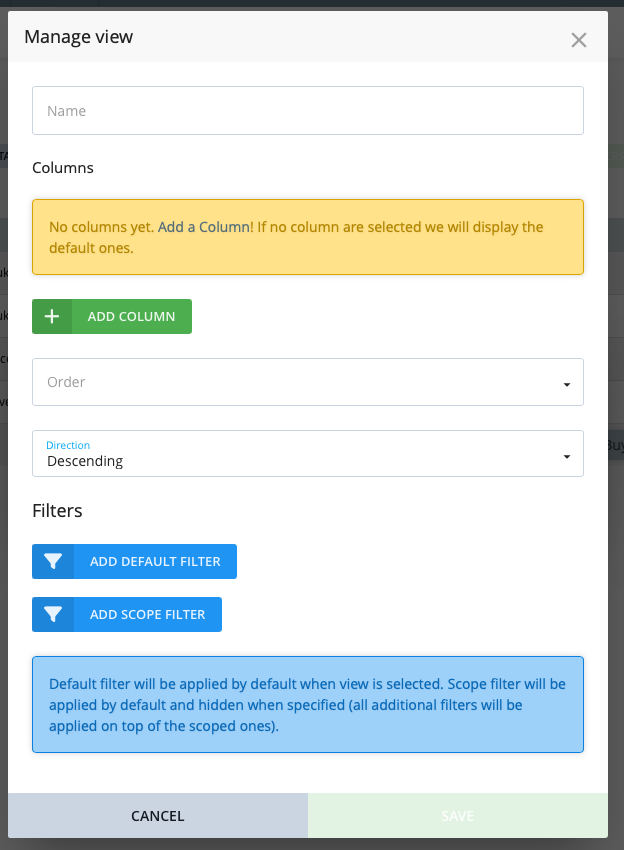
We will need to consider the following 4 parts when we create a view.
Name – What our view/layout will be called (also shown on the dashboard)
Columns – What data columns do we want on our view
Ordering – In what order do we want the customers to appear.
Filters – What filters do we want to automatically apply to this view (only show ‘Vetting Pending’ customers for example)
Columns
If you do not add columns here, the default ones will apply. Avatar, Name, Email, Company, Badge Type, Tags, Status and Custom Status.
You can add as many columns as you need here, most of them are self explanatory, but notable columns needing a little further context:
Answer - This allows you to add in demographic answers from the customers record, such as Job Function or Company Sector, or a Website URL they were requested to enter during registration.
Phones vs Phone -
Choosing Phone will give you the option to choose which type of phone number to display, such as ‘Telephone/landline’ or ‘mobile’ – You could add two phone columns, one for each phone type. This is the recommended approach.
Choosing ‘Phones’ will give you a more raw data dump of all phone numbers stored.
Notes - These are from the notes section on a customers record and will display anything added here.
Once completed, press 'Save' and your new view will be able to be used either from the Customer List or from the LiveControl Dashboard.