

This guide will explain the process of using the Order Product export type. This export provides a method to download data for every product that has been purchased on a registration campaign, it gives information on who the product was purchased for and for how much as well as any discounts used.
Each product purchased is it's own row on this export, so customers may appear multiple times if they have multiple products, this granularity gives maximum data visibility.
Create a new Export
Head to the exports area in LiveControl, from the top menu: More -> Exports
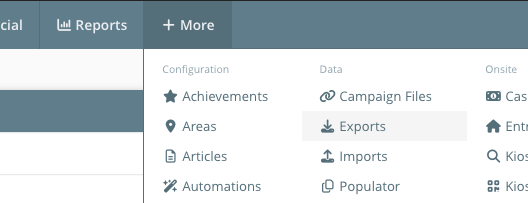
Here you will see a history of all the exports that have been generated on this registration campaign.
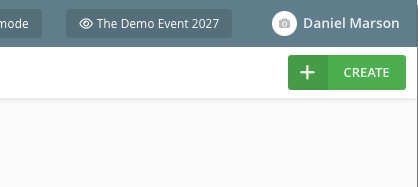
Click Create in the top right corner:
There are 3 steps to creating an export:
1) Type
2) Configure filters and columns
3) Name
In this guide, we will be focusing on the Order Product type.
1) Export Type
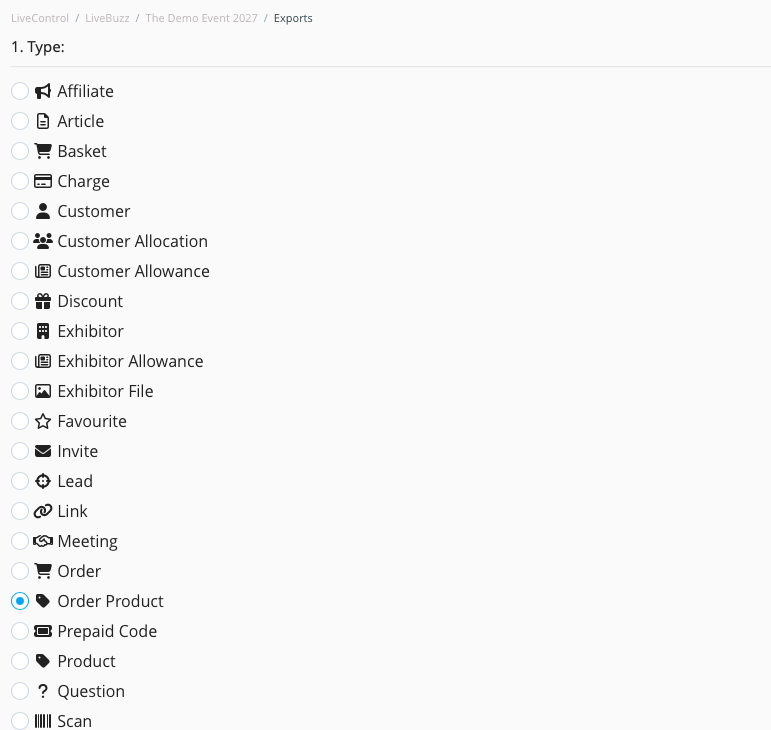
Choose Order Product from the list:
2) Configure filters and columns
Filters
Filters can be applied in a number of ways to restrict the rows that are returned. Common use cases for this include restricting the export to only certain products, or using the order created_at date to restrict to products sold during a set period.
Click on Add Order Product Filter to see the available options for filtering.
To filter by Product:
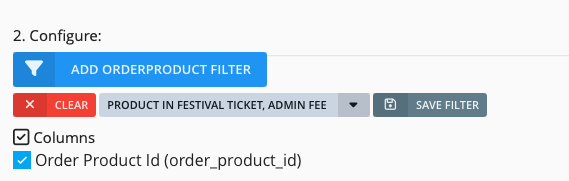
For the product filter, click on Product and then Select to choose from the list of products. You can use the tick boxes on the left to select them, then click Add Selected Rows at the top or bottom of the list, and then click Apply to close the filtering pop up. You will then see your filter displayed:
To filter by order date:
From the filter pop up, click on Advanced in the top left corner:
This will display all available filtering criteria for OrderProduct.
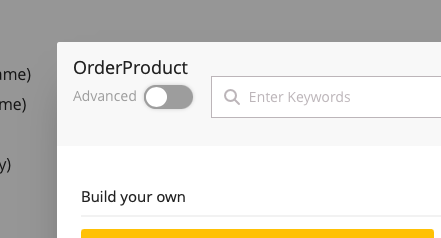
From here you can select other data points and use their filters. In this example we will use data from the Order itself.
Choose Order from the list on the right:
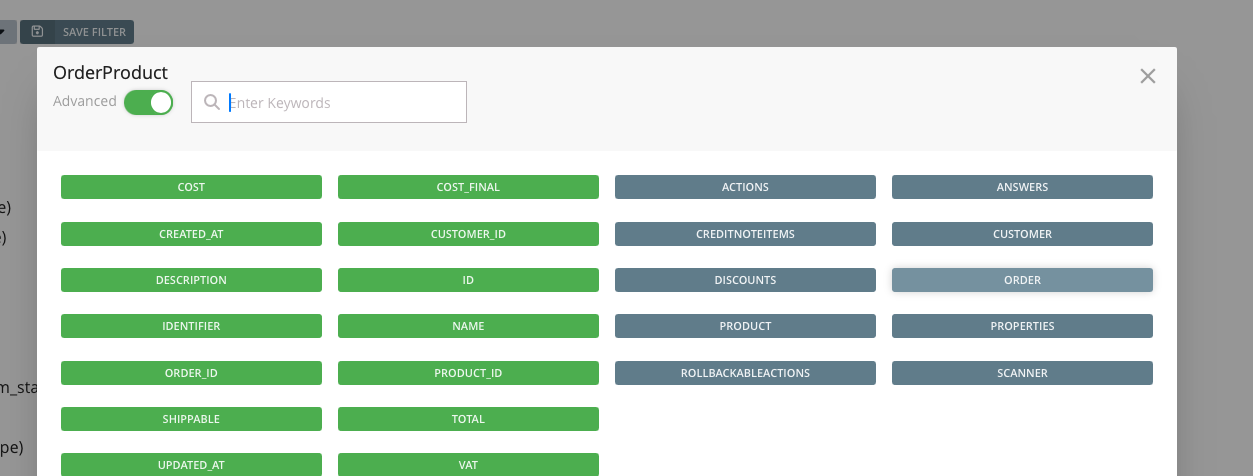
This will then show you the normal screen for Order filters such as Status, Date, Payment Provider.
From the Build Your Own section choose Date to configure the date/time period you want to see data for:
The best option is to use the between option under operator, this allows you to specify the start and end date/time.
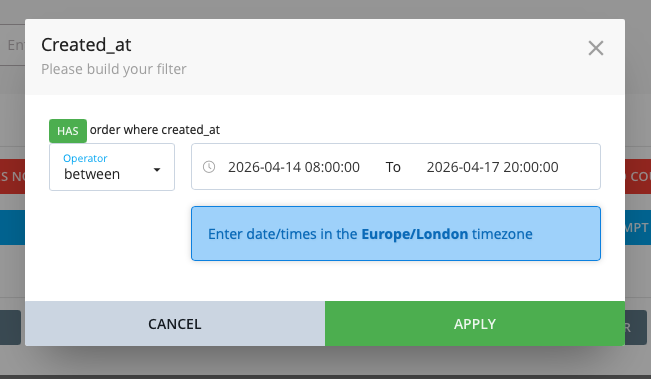
Click Apply to save this filter.
Columns
All the columns on the left are included by default, and the related data on the right can be added in.
There is a large section on the left labelled Customer - First Name, Last Name, Job Title etc. All of this information is for the Customer that the product was purchased for and not necessarily who is was purchased by. Think about group registrations where one Customer is purchasing tickets/badges/sessions for a group of people.
There is a Cost vs Cost Final - The Cost is the set value that the product has in LiveControl. This is often the highest price it will be charged at or the 'normal' price. The Cost Final is the price actually paid when this product was purchased. They may have used a discount code or had an early bird rate applied. Both these values are displayed as net values.
From Related Data on the right you can include extra data fields.
Use With order to include higher level information from the order itself, this can include the Order Created at date/time, order total and information about captured charges (any payment references). You will also see further references to Customer data here, here the Customer Name will be the customer who actually placed the order, not necessarily the person who the product is for.
Use Customer_answers to add in extra demographic answers from the registration.
Use Customer_properties to include extra information stored such as UTM parameters from the customers record.